Select a Design

Before you start working on your pysanka, you should probably select a design. Experienced pysanka writers often make designs up as they go along, but this can be fairly difficult for a beginner. Knowing which colors go where and in what order can be a challenge, and visualizing what your pysanka will look like in the end is not that easy.
There are many sources you can use to select a design: a pysanka pattern sheet; a photo, painting or drawing of a pysanka; an actual pysanka; and your vivid imagination. Both the internet and books about pysanky are rich sources of designs. For beginners, using a step by step design sheet is probably the best option. For more experienced artists, any of the above will work.
Pysanka Pattern Sheets: These are step-by-step instructions for making a pysanky. Each drawing shows what the egg will look like when all the design has been drawn for each color/step. To use these sheets, you have to be good at spotting differences between pictures, much like in those “Spot the Differences” puzzles we did as children:


Most design sheets are simple line drawings printed in black and white. You start by writing all the lines shown in the first egg in wax on your white egg. You then dye the egg the next color shown on the sheet, and write more lines, looking for the differences between the two drawings. You continue to do this until you reach the final color.
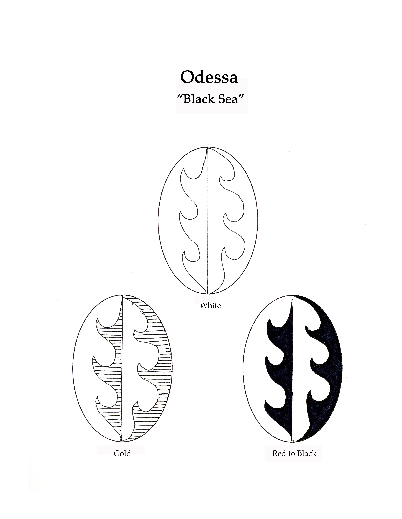
This is an example of a design sheet for a simple pysanka from the Odesa region. The first egg is labelled “white,” the second “gold,” and the third “red to black,” with black being the final background color. You can find a bunch of design sheets on my site here and here.
Pysanka Design Books: The Ukrainian Gift Shop has produced a series of six design books for pysanky, which contain step-by-step instructions for writing pysanky, along with three other books that contain several patterns each. The designs vary in difficulty from “easy-peasy” to “what-the hell-have-I gotten-myself-into.” The first two books have simple black-and white patterns like those on my pattern sheets. The newer design books are much better: the author shows what sort of division is involved in each pysanka, shows how to mark up the egg with pencil, and then provides step-by step instructions, with the new lines or infill to be written shown in a different color from the pre-existing lines. They are much more helpful for learning pysankarstvo.
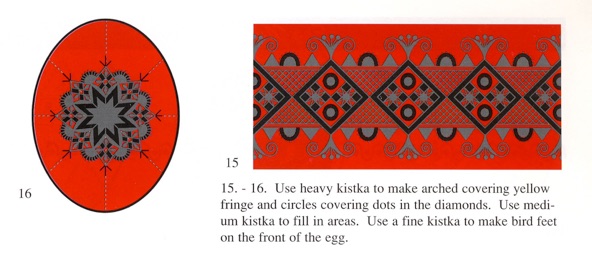
Above: an example of a design from design Book 4, steps 15-16.
Once you have mastered the design books, you’ll be ready to move on to copying designs from books and other sources, ore even creating your own. What do you need to figure out to do this? You need to figure out the division and the color sequence of the pysanka. A few examples:
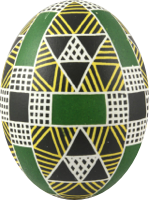
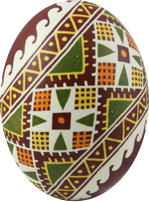
Division: Eight
Color Sequence: White, Yellow, Green, Black
Division: Diagonal
Color Sequence: White, Yellow, Green, Orange Rinse, Orange, Dark Red
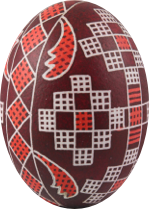
Division: Lateral (use Eight division to plot)
Color Sequence: White, Red, Dark Red
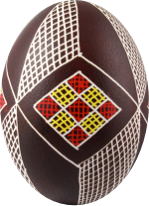
Division: 12 Diamonds
Color Sequence: White, Yellow, Red, Black

Division: Sakvy/Saddlebags
Color Sequence: White, Yellow, Orange, Red, Dark Red, Black
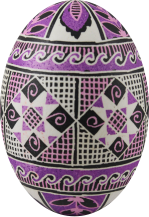
Division: Barylka
Color Sequence: White, Pink, Purple, Black

Division: Sorokoklyn
Color Sequence: White, Yellow, Green (spot dye), Red, Black
Once you’ve figured out the division and the color sequence, it’s time to start pencilling in your design.


Back to Main Preparations page
Back to Main Pysankarstvo page
Search my site with Google
Choose wisely!