Pumpkin Eggs:
Green Lines
Pumpkin Eggs:
Green Lines

Our next step is to dye and wax the green portions of the design. As you are probably aware, there are two ways of accomplishing this, by either dyeing the entire egg green, or by spot dyeing. Because there is only a single, discreet area that needs to be green, it is much simpler just to spot dye, than to dye the entire egg and then use either an orange rinse or wash back the egg to white).
Begin with this egg (or similar one):
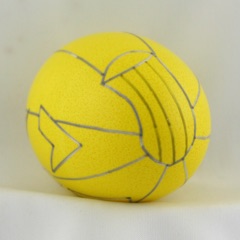
Spot dye the stem green, as show here. Try to keep the dye within the lines:
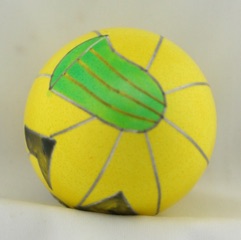
For a large area like this, I usually dip a paintbrush into green dye and paint it on. I prefer a fibre applicator, like Tsukineko’s “fantastix,” but ordinary brushes with bristles work well, too.

I leave the dye on for a minute or so, and then blot it off with a tissue. You can also use Q-tips, but I find the applicator or a small paint brush gives better control and more even application.
Once the dyed area is dry, wax it in using a heavy or extra-heavy stylus:
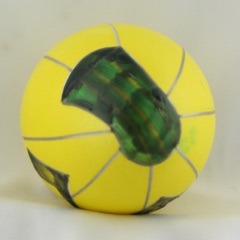
And you’re done with green. Proceed by dyeing the egg either orange or pumpkin, as described on the next page.
Back to MAIN My Pysanky page.
Back to MAIN Pumpkin Eggs page.
Search my site with Google