Pumpkin Eggs:
Pencil Lines
Pumpkin Eggs:
Pencil Lines

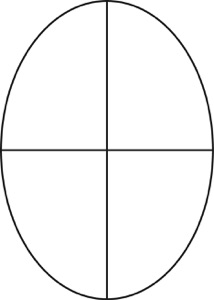
To begin, divide your egg into a basic “Eight” division, as shown above. Your egg should look something like this:
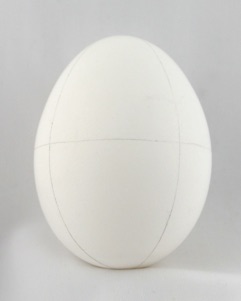
Make the lines dark enough to see, but no darker. Heavy lines may smear, and may be harder to remove later on.
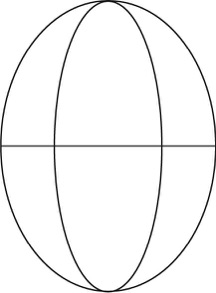
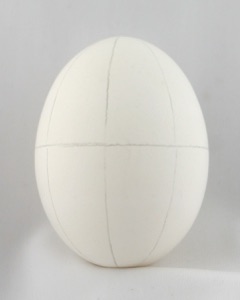
Divide the egg further into sixteen section, by adding up-and-down lines halfway between the existing longitudinal lines:
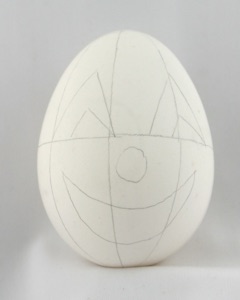
Now you can draw a face onto the pumpkin. Make the features big enough to see well, but not so big that they can’t all be seen at once. The equatorial line is there for guidance only; you won’t be waxing it in. It will help you keep the face from looking crooked.
I’ve drawn in the features, a simple smiling face, here:
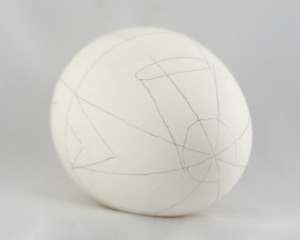
One last step remains–drawing in the pumpkin stem. Make a circle at the top of the egg, and use it to “hang” a stem from, as shown here:
That’s it for pencil lines! Now we can begin waxing.
Back to MAIN My Pysanky page.
Back to MAIN Pumpkin Eggs page.
Search my site with Google