Writing Pysanky

In this section I hope to help you learn how to create beautiful designs on your pysanky. For most of us, it is not that simple to look at a pysanka design and copy it, or even to create one’s own ideas on the surface of an egg.
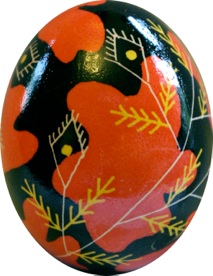
Some books will tell you that the best pysanka artists never use any tricks or guides (pencils, lathes, etc.) to help them in creating their pysanky. They simply put stylus to egg and write. I wish I were as good as them. I suspect, though that these artists may be making pysanky like this one:
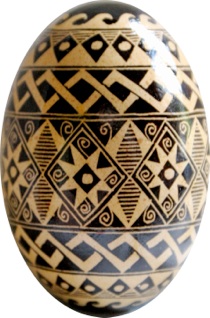
rather than this one:
It’s one thing to write simple or free-form pysanky, and quite another to make complex, intricately designed ones. Still, for a beginner, though, both can be a challenge.
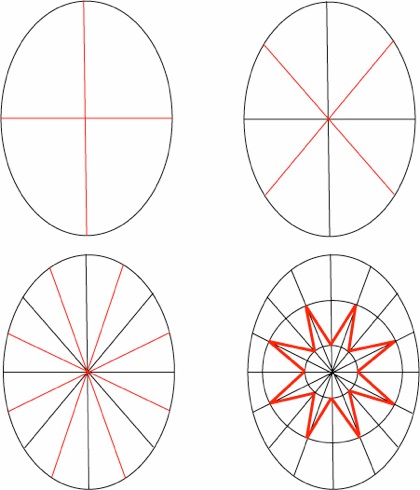
Most pysanka artists that I know use at least some very basic pencilled in guide lines in order to keep their designs symmetric and their lines straight. Beginners, in contrast, often try to write the entire design on with pencil before beginning. I will show you how to do the latter, with hopes that, with experience, you will figure out how to do the former.
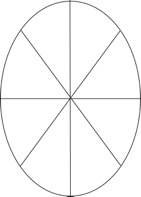
On the following pages I will try to explain the art of deconstruction of pysanka designs into their basic elements, both motifs (e.g. stars) and pysanka divisions (“40 Days of Lent / Sorokoklyn”). Click on the egg below to go to the appropriate section.
(Note: This is a work in progress. Check occasionally for updates and new pages.)
Back to Main Pysankarstvo page
Back to MAIN Pysanka home page.
Back to Pysanka Index.
Search my site with Google
Motifs
Divisions