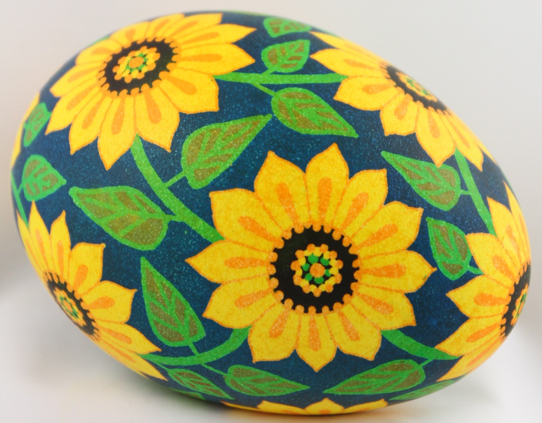
Step by Step
Sunflower Goose Egg
Step by Step
Sunflower Goose Egg

Step 1: Pencil Lines
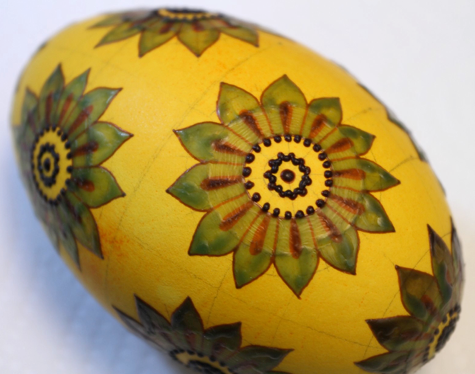
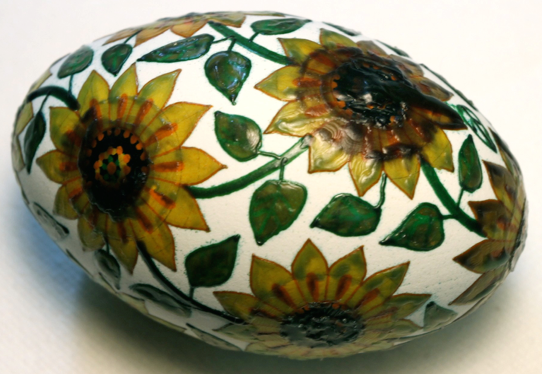
On a white, clean goose egg, divide the egg as shown. There will be 10 sunflowers on the egg: one each on the top and bottom, and two alternating rows of four. There should be eight (8) equal longitudinal (up and down) divisions.
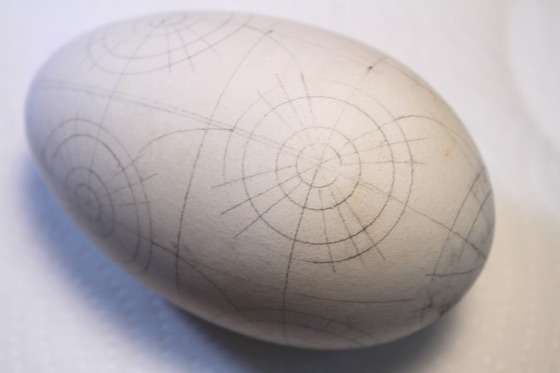
Horizontal lines–there are three. The middle line should be at the halfway point. The lines either side of it should be 1/3 of the way up (or 1/6 of the total length from top to bottom). In other words, the ratio between the four segments from top to bottom should be 2:1:1:2.
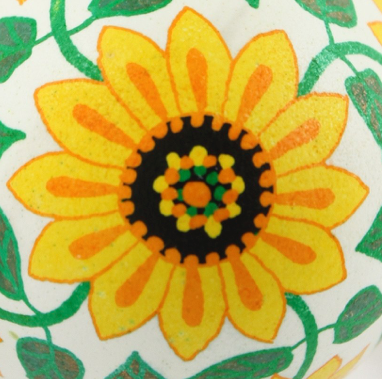
The circles should be placed as shown here. There should be four concentric circles, with the innermost circle about 1/5 of the outermost. The four circles will correspond to these on the flower here:
As in the photo of the white egg above, divide the circle into twelve even sections. Also, add in the connections between the flowers, the “vines” or branches. I try to make them symmetric, and insert between the same corresponding petals on the flowers.
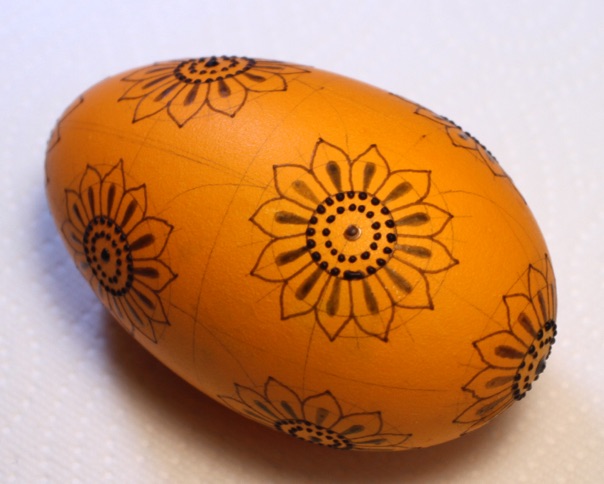
Step 2: Orange
Dye the egg orange (I usually give it a yellow base coat first), and then wax in the lines on each flower shown below.
Step 3: Yellow
Dye the egg yellow by placing in the yellow dye. It will take some time for the orange to lift off, so be patient. Wax in the petals and a row of dots along the central ring.
Step 4: Light Green/Black
Dye the egg light green, and then wax in stems, leaf outlines, and central dots. Leaves should be placed to try and fill the empty spaces between the flowers as fully as possible.
The photo above has the central disc all waxed in. Only the green dots in the photo below should be waxed in at this point.
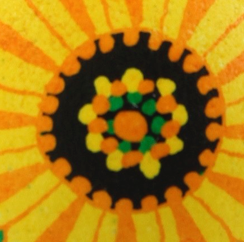
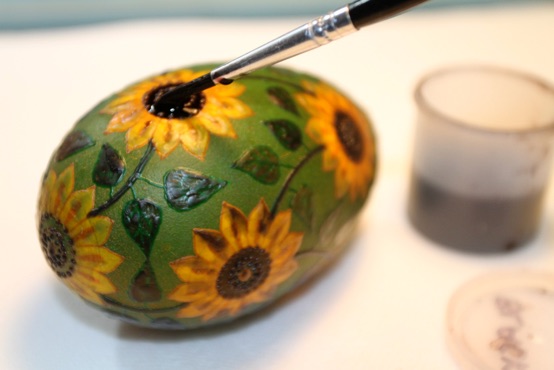
Once these dots have been waxed, it is OK to spot dye in the central disc black, and then wax it all in. I find it easiest to use a brush of some kind than a Q-tip, as it allows better control of dye placement. (This step can also be done once the egg is olive green, as in the photo below. I’ve done it both ways. It doesn’t really matter.)
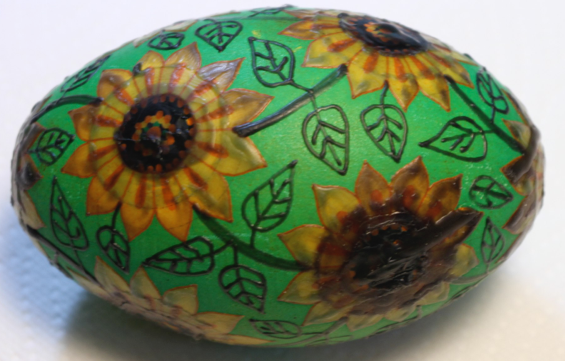
Step 4: Olive Green/Black
It is now time to dye the egg olive green. I do this by dipping quickly into orange, and then back into light green. You may have to do this more than once to get just the color you want.
Once the egg is a nice olive green, wax in the leaves.
Step 5: Final Color
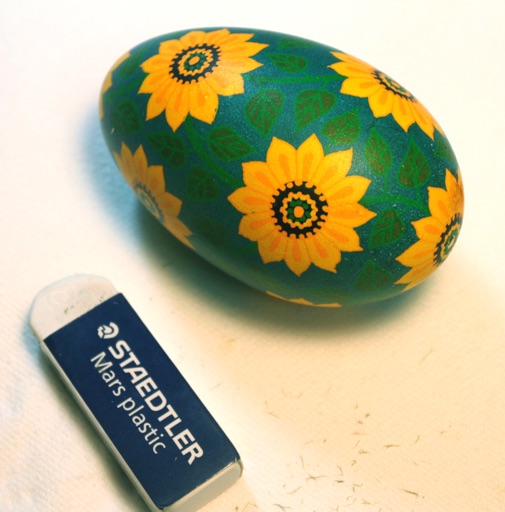
Once the leaves have been waxed in, you are done writing the pysanka. If the color will be a darker blue tone, simply dye the egg and remove the wax.
If the final color will be lighter, remove the color with you bleaching solution of choice (I prefer SImple Green and Ivory dish soap, usually in combination). Once the egg is white, you can leave it that color, or dye it very light blue, or any other color you might like.
Step 6: Finishing Up
Remove the wax in your usual fashion. If any pencil lines are visible, remove them by erasing.
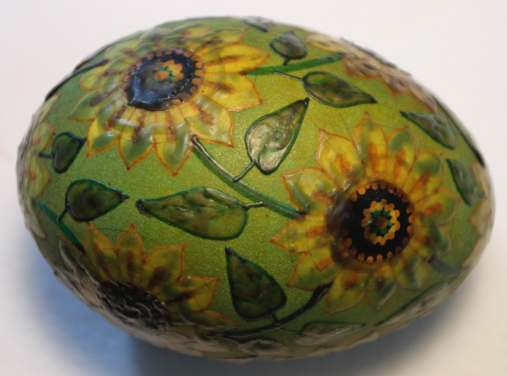
(Above: turquoise final color.)
Writing a Sunflower Goose Egg Pysanka