Snowflake Pysanka
Step-by-Step: Pencil
Snowflake Pysanka
Step-by-Step: Pencil

Before writing any lines on your egg, make sure it is clean, dry and at room temperature. The egg can be washed with mild dish soap (e.g. Ivory), and any dirty spots scrubbed off with a ScothBrite pad. To dry it, either place the egg on a towel to dry, or pat it dry with a soft dish towel or paper towel. The eggs should not be fresh from the refrigerator, but should been left out at room temperature for several hours.
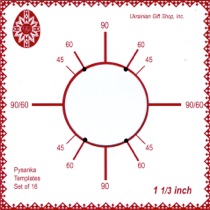
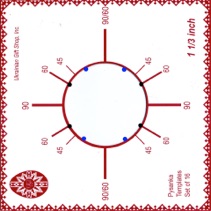
While I do not draw the snowflakes on my pysanky out beforehand, I do mark up the egg a bit. I do this so as to center the snowflake on the egg, and to help me keep its six arms even and symmetrical. I draw on guide lines lightly with pencil1. First I divide my egg in half longitudinally and around the middle. With the help of my UGS templates, I draw concentric circles where these lines cross around the middle.
If I am going to be making a pysanka with a snowflake only on one side (as I do with those I give to children, because I usually write their name and the year on the other side), I will do this on just the one side. If the pysanka is to have snowflakes on the front and back, I draw the circles on both sides.
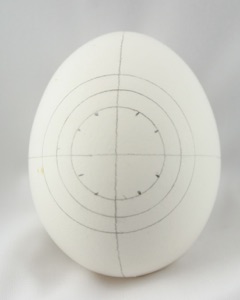
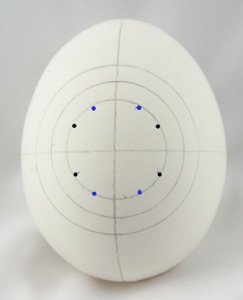
It is easiest to draw the innermost circle first, and work your way out. If you center the first circle properly, you can use this to help center your larger circles. You can see the circles drawn onto this egg:
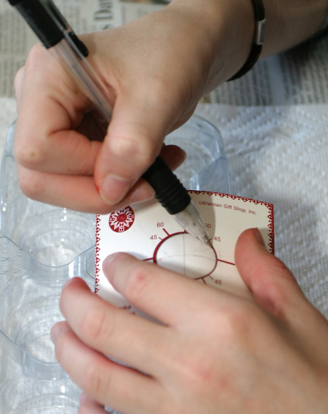
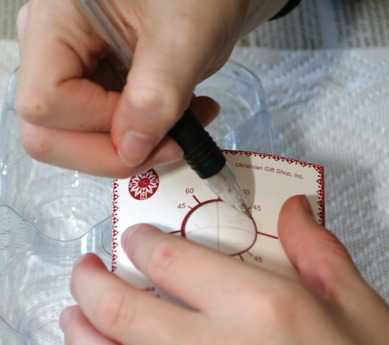
I then place pencil marks at the 60° on one circle (either the inner circle or the 1” one, if the inner circle is very small), using the template. The black dots are placed here to show where the marks should be drawn. I turn the template 90°, and mark the 60° points again:

This gives me the markings on the egg above, with the pencil marks replaced by the dots from the templates directly above:
The marks on the inner circle are all at 60° from each axis. Next I draw lines out from the center (red line), through each of these marks, to divide the circle into twelve sections. I extend the lines out beyond the outer circle, a bit beyond where I would like my snowflake to extend.
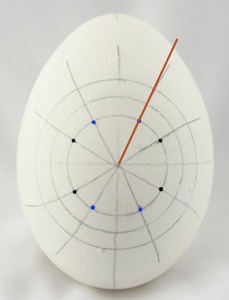
Why do I divide into twelve instead of just six sections? I do so because each because each “arm” of a snowflake is symmetric along its midline. Thus, two sections in the circle above will form one arm of the snowflake, with its mirror-image symmetry.
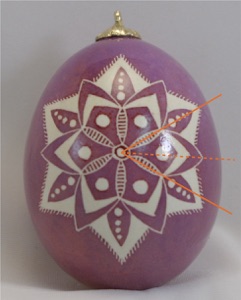
(Note the symmetry in each point/section of the snowflake above.) The solid orange lines define a single arm, with the central dotted line being the axis of symmetry.
Once you’ve finished marking up your egg, you are ready to begin applying wax!
Back to MAIN My Pysanky page.
Back to MAIN Snowflake Pysanky page.
Pencil Guide Lines