Wax Lines

There are two ways of using a traditional stylus to create pysanky. I have outlined the technique I prefer first; an simpler (but less efficient) alternative technique is described below. The latter may be a better choice for young children.
STANDARD TECHNIQUE
STEP 1 Heat the entire head of the stylus in the flame of the candle initially for about 10 seconds.
Heat the entire head of a Delrin stylus prior to scooping wax
If you are using a traditional (non-electric) stylus with a wooden handle, heat only the opening of the funnel, or the handle may catch on fire. I count slowly to eight while heating to make sure I heat for long enough. It is best to heat in the blue, or hottest part of the flame.
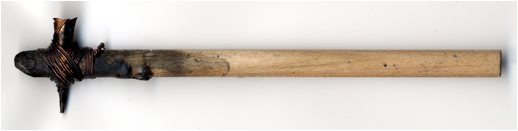
Traditional wooden-handled stylus
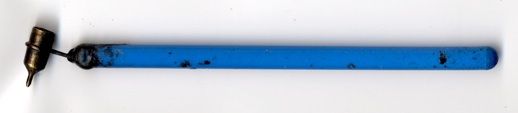
Modern plastic-handled Delrin stylus
STEP 2: Scoop a small amount of beeswax into the opening of the reservoir (or into the funnel of the stylus). If the stylus does not scoop up the wax easily (like cutting through butter), the stylus may not be hot enough. Heat it a bit longer and try again, rather than trying to force it.
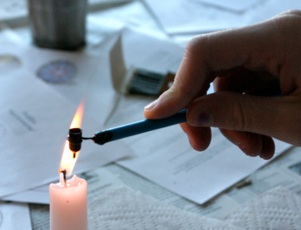
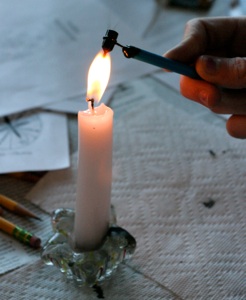
STEP 3: Reheat the stylus, placing the tip into the flame until the wax is melted. (If using a wooden stylus, heat only the writing tip to avoid conflagration.) If you leave the stylus in the flame too long, the wax will get too warm and “blob” when you try to write. Counting slowly to three will usually give you enough reheating time.
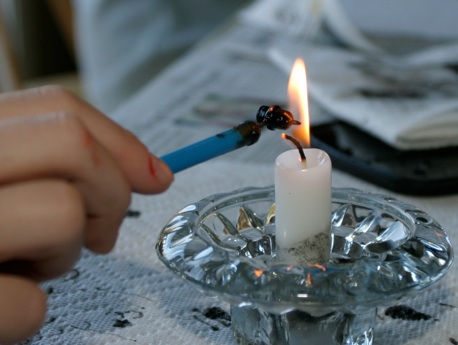
Heating the tip prior to writing – the flame is hottest where it is bluest
STEP 4: Test the wax flow from the stylus on the newspaper, paper towel, a “junk egg” or even on your fingernail before writing any wax lines on the egg.
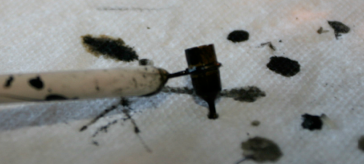
Occasionally, due to over-filling or over-heating, the stylus will let out a large blob of wax, and it’s best if this happens somewhere besides the egg. If this should happen on the egg, there is nothing you can do. The wax bonds instantly to the eggshell; even if you try to scrape the wax off, the blob will still appear in your final design.
Don't feel badly if this happens –– even the most experienced egg artists have the occasional blobs in their designs. If at all possible, try to incorporate it into the design. If you can't, remember: any art made by humans is going to have mistakes in it –– that's what makes each egg truly unique. (And also remember that there are two sides to an egg, and you get to decide which side to display!)
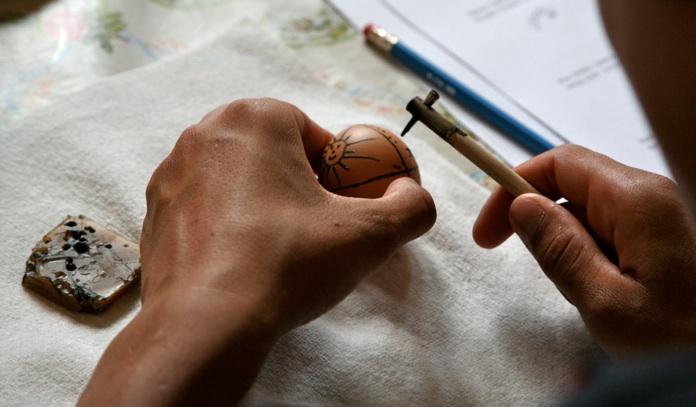
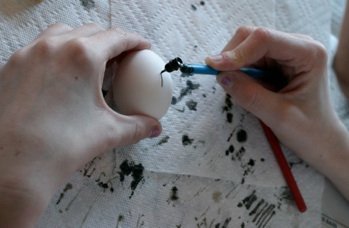
STEP 5: Apply wax to the egg. Study your pattern. Everywhere that there are white lines in the pattern, apply the wax. Remember that the pencil lines are just meant to be guides, and that you won't be covering all of them with wax. Write your design on both sides of the egg.

The proper way to hold a stylus
Use a fine stylus for fine, delicate lines, a heavy stylus for filling in large sections of color and for dots, and a medium stylus for everything else.
.
Using a medium stylus to write on a pysanka
When the stylus stops writing, reheat the tip (Step 3) and continue to write. Keep doing this until the wax runs out, and then start again from Step 1 by refilling the reservoir with wax.
Keep writing lines, until you have finished all those you wish to remain white in your final pattern:
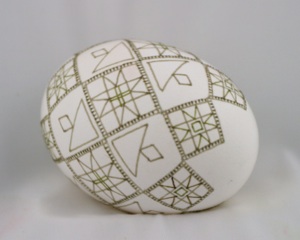
A pysanka with the white lines completed
Dye your egg in the first color of dye (usually yellow).
Repeat this process with each subsequent dye color. Once you’ve reached your final color, quit applying wax.
Remember: The dyes will not penetrate under the wax (unless, of course, you forget an egg in the dye, and leave it in there for several hours). Once an area is sealed, it will remain that color. You don't need to re-apply wax every time you dip an egg into a dye; just apply the new lines for that color.
********************
ALTERNATIVE TECHNIQUE: There is an alternative way of drawing wax into a stylus, one that is simpler and often a better choice for young children. It is less efficient, though, a more time-consuming.
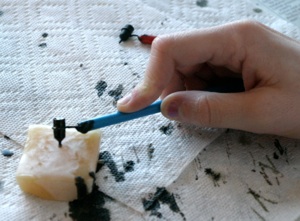
STEP 1 Heat the tip of the stylus in the flame of the candle initially for about 10 seconds. Be careful, if using a wooden-handled stylus, to heat only the metal cone and not the wooden handle.
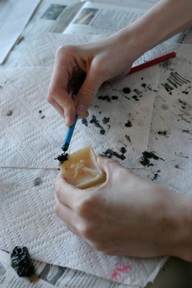
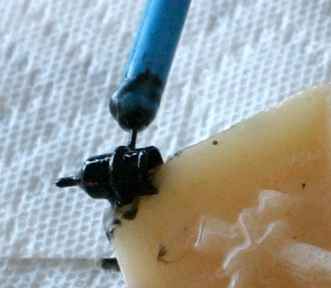
STEP 2: Touch the tip of the stylus to the cake of beeswax. Do not force it in; if the tip is well heated, it will sink into the wax and blacken it. This will draw a small amount of wax into the tip by capillary action.
STEPS 3-5: As above.
When the stylus stops writing, you must start again from Step 1, heating the tip and touching it to the wax. Continue to this until you have written in all the white areas of the pysanka. Then proceed with dyeing as above.
The advantage of this technique is simplicity. The disadvantage is having to draw up wax quite frequently, rather than just heating the tip. It is simpler, though, for young children who may have difficulty scooping the wax properly.


Back to Main Wax Lines page
Back to Main Pysankarstvo page
Search my site with Google
Using a Traditional Stylus